Creating a dedicated charging station for your devices is a smart way to keep your gadgets powered and organized. Whether you have smartphones, tablets, laptops, or other rechargeable items, a well-planned charging area can reduce clutter and make daily life easier. In this guide, we’ll walk you through everything you need to know to set up an effective charging station at home.
Why Set Up a Charging Station?
With so many devices in use nowadays, charging cables often end up tangled or misplaced. A charging station helps by:
– Organizing cables and devices in one central spot
– Preventing damage from loose or tangled cords
– Saving time by knowing exactly where to plug in
– Creating a neat, clutter-free environment
Setting up a charging station can be a fun DIY project that improves both functionality and aesthetics.
What You’ll Need
Before getting started, gather the following:
– Power strip with surge protection: To handle multiple devices safely
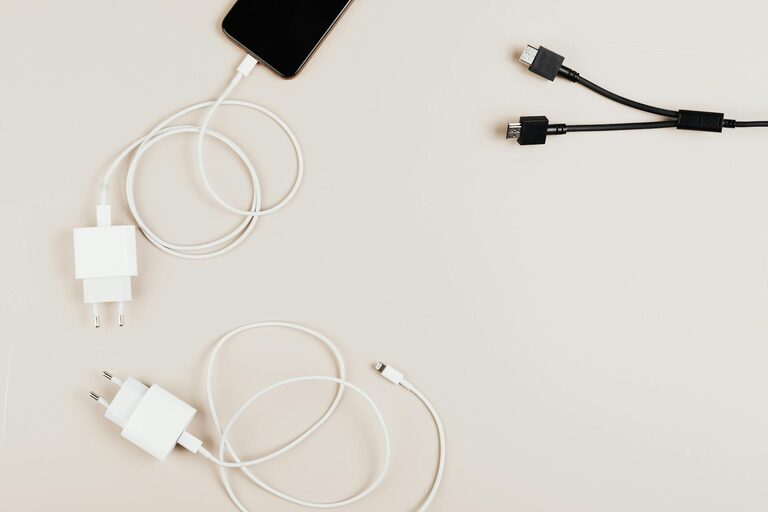
– Charging cables: Appropriate cables for each device (USB-C, Lightning, Micro-USB, etc.)
– Dock or stand (optional): Keeps devices upright and accessible
– Cable management tools: Clips, sleeves, or ties to reduce tangling
– Storage container, tray, or box: To hold smaller gadgets and chargers neatly
– Label maker or labels (optional): For easy identification of cables and chargers
Having these items ready will make the setup process smooth and efficient.
Choosing the Right Location
Select a spot in your home where charging will be convenient:
– Near a power outlet
– In a common area like the kitchen, living room, or home office
– On a desk, shelf, or a small table
– Away from excessive heat or moisture
A visible, easy-to-access location encourages regular use and helps everyone keep their devices charged.
Step-by-Step Setup Guide
Step 1: Declutter and Clean the Area
Start by removing any items cluttering the space. Wipe down surfaces to create a clean foundation for your charging station.
Step 2: Arrange the Power Strip
Place the power strip where it’s easily reachable but tucked enough to avoid accidental unplugging. If possible, secure it to the back of a desk or under a table using adhesive strips or screws.
Step 3: Organize Your Cables
Separate the cables by type and length. Use cable clips or ties to bundle them neatly. Labeling the cables can make it quick to identify which charger belongs to which device.
Step 4: Set Up Device Holders or Stands
If you have smartphone docks or stands, arrange them where devices can sit safely while charging. This prevents phones from sliding off surfaces or getting damaged.
Step 5: Designate Spaces for Accessories
Use small trays or compartments to hold earbuds, smartwatches, power banks, or other small gadgets. This keeps everything visible and prevents them from getting lost.
Step 6: Test Your Setup
Plug in all devices to ensure that everything charges correctly and that cables reach comfortably. Adjust as needed for the best fit and convenience.
Tips for Maintaining Your Charging Station
– Regularly check cables and chargers for wear and replace damaged ones promptly.
– Keep the area dust-free to protect electronic contacts.
– Avoid overloading the power strip to prevent electrical hazards.
– Rotate devices as needed if multiple people share the station.
– Consider wireless chargers for a cleaner look and fewer cables.
Additional Ideas to Enhance Your Charging Station
– Add a small LED lamp to help see devices at night.
– Decorate with a small plant or personal item for a pleasant visual.
– Use a multi-device charger to reduce the number of cables.
– Incorporate USB hubs into the power strip for more ports.
– Place a charging timer or smart plug to manage electricity use efficiently.
Conclusion
Setting up a charging station is a practical way to manage your devices and keep your space tidy. By choosing the right location, organizing cables thoughtfully, and using helpful accessories, you can create a charging hub that works perfectly for your household. With a little effort and planning, you’ll enjoy a clutter-free, well-charged home every day.
Try these steps today to take the chaos out of device charging and bring order to your tech routines!